
In this Jetserver Web Hosting guide, we will explain step-by-step how to install the Self-Signed SSL certificate. This certificate will automatically be replaced within approximately 30 minutes by an Auto SSL certificate.
Please note: Before you follow the steps in this guide, open a support ticket (Click Here) and make sure that Auto SSL is enabled on the server where your site is hosted!
Step 1 – Install the Self Signed SSL Certificate:
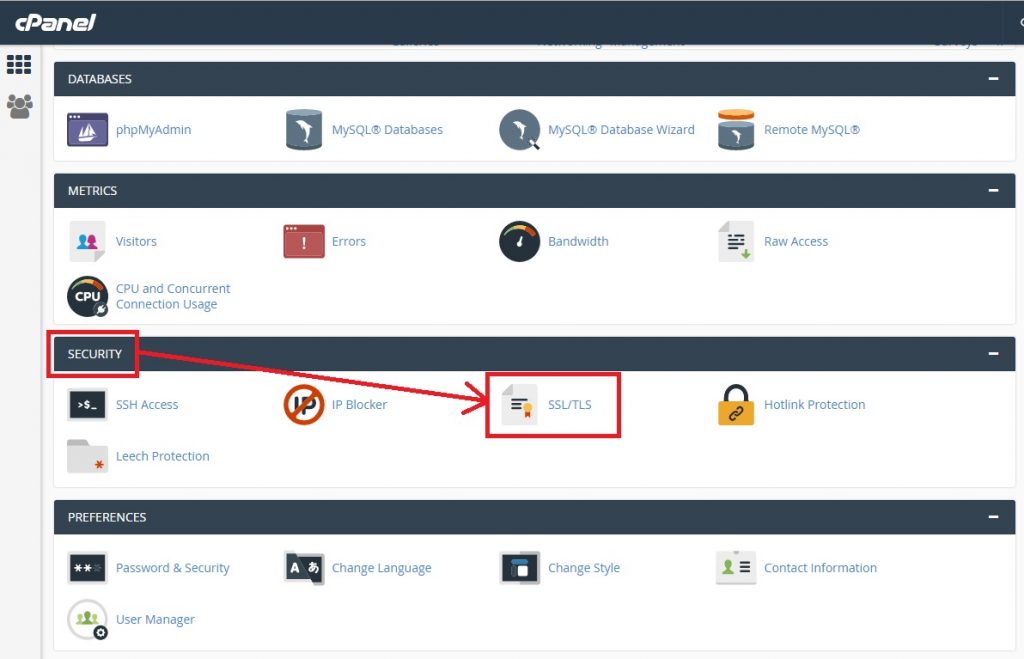
At the cPanel site hosting, under SECURITY click on the SSL / TLS icon as shown below:
Installation the Free Self Signed SSL
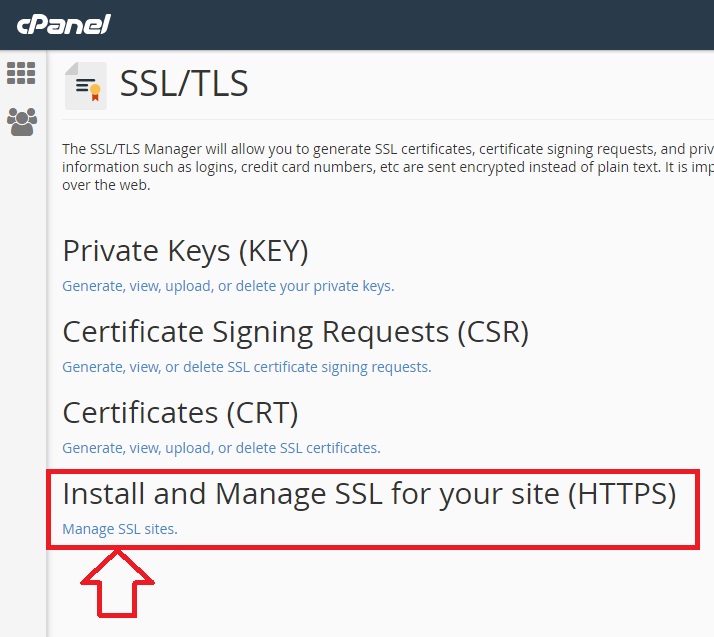
On the page we receive, click the Manage SSL sites link under the Install and Manage SSL for your site HTTPS header:
Installation the Free Self Signed SSL
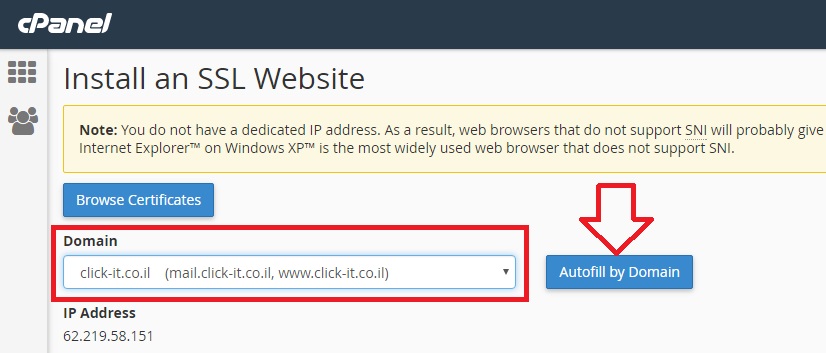
The page we receive is called Install an SSL Website, where we will list the domain for which we want to install SSL, and then click on the Autofill by Domain button:
Installation the Free Self Signed SSL
cPanel web hosting system will perform the operation and in the meantime we’ll see this status:

Installation the Free Self Signed SSL
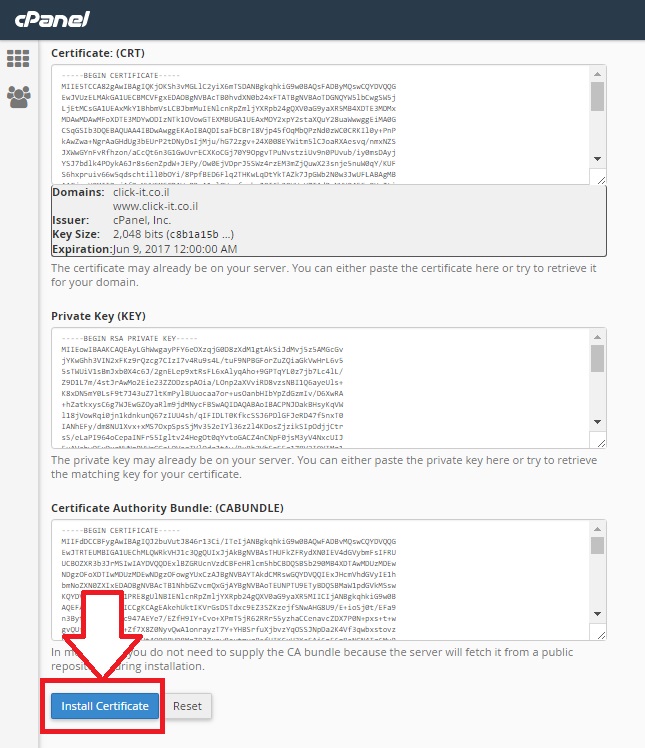
When the operation is complete, all the fields required to install the SSL certificate will be filled automatically and at the bottom of the screen, click the Install Certificate button:
Installation the Free Self Signed SSL
When the installation is complete, an inner window will open indicating that the SSL installation operation was successful. Click the OK button on that inner window:
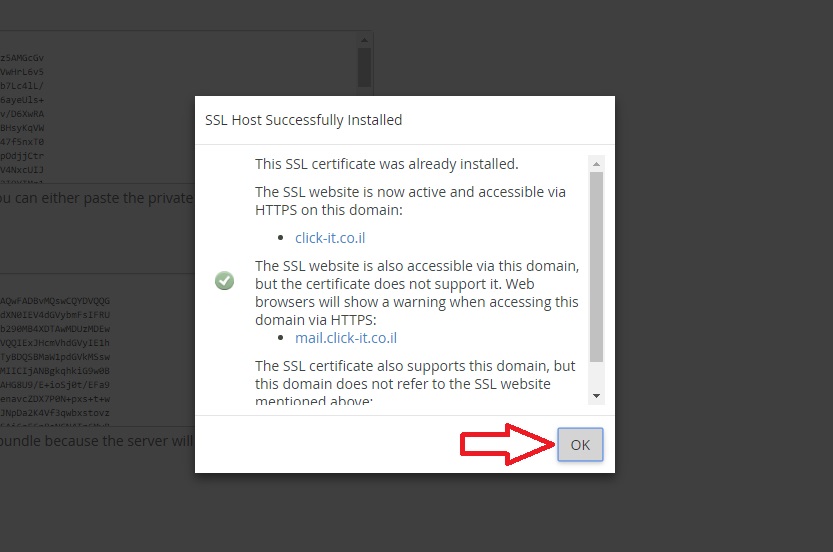
Installation the Free Self Signed SSL
Step 2 – Update the .htaccess file:
Back to the main cPnael page. Under the Files menu, click the File Manager icon as shown below:
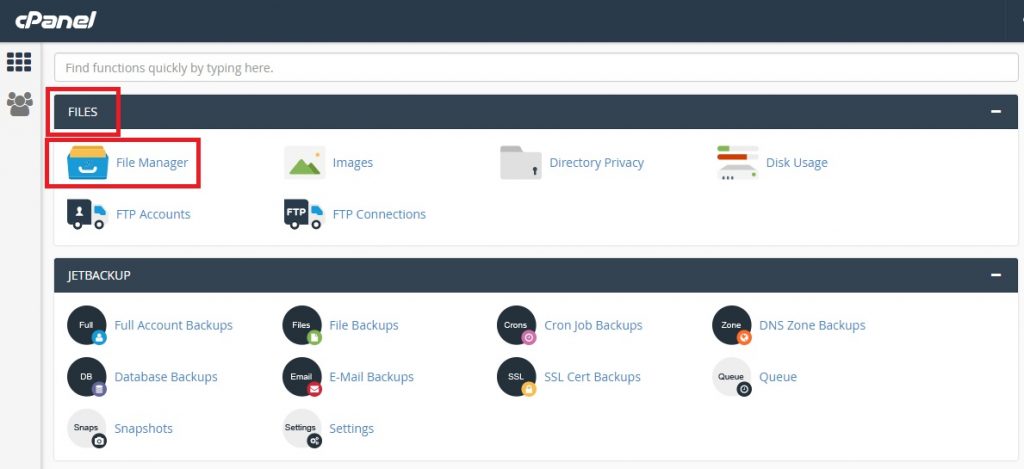
Installation the Free Self Signed SSL
Within the root folder of the site, locate the .htaccess file and open it for editing (you may need to mark in the cPanel display settings the option to display hidden files – Show Hidden Files – dotfiles).
Scroll to the bottom of the .htaccess file and paste the following script into it:
#Force https:
RewriteEngine On
RewriteCond %{HTTPS} off
RewriteRule ^(.*)$ https://%{HTTP_HOST}%{REQUEST_URI} [L,R=301]
Save the .htaccess file after performing this update.
Comments and reservations:
- A site running under a CDN – Content Delivery Network such as Cloud Flare, for example, will not be able to use the Self Signed SSL certificate. The settings must be updated with the CDN vendor or discontinued, in order to enable the Self Signed SSL certificate to operate.
- For any web platform such as Joomla, WordPress, Drupal and the like, there are SSL settings which must be updated in order for the site to perform under the SSL you have installed. You may need to install a dedicated extension to do this.
- If no .htaccess file exists: In the root of the site, you must create it yourself (you must place a dot before the file name).
- In most sites, the internal links are relative, meaning that they do not include the domain name but only the relative link within it. If there is even one link on your site that is an absolute link like http://domain.co.il/about-us.html and it is an internal link within the site – the site will not be displayed as Secured. You must ensure that all absolute links have been replaced from http to https.